

When it comes to decorating your home, adding a personal touch can make all the difference. Instead of spending a fortune on art pieces, why not create your own? With the help of stencils, you can easily transform any space into a work of art. In this article, we’ll explore the world of DIY wall art and show you how stencils can help you achieve the perfect look for your home.
- 1. Introduction
- 2. Choosing Your Stencil
- 2.1. Design considerations
- 2.2. Stencil material options
- 2.3. Choosing the right size stencil
- 2.4. Where to buy stencils
- 2.5. Making your own stencil
- 3. Preparing Your Wall
- 3.1. Cleaning the wall
- 3.2. Measuring and marking
- 3.3. Protecting surrounding areas
- 3.4. Applying base coat
- 3.5. Allowing base coat to dry
- 4. Using Your Stencil
- 4.1. Securing the stencil
- 4.2. Choosing the right paint
- 4.3. Applying paint to the stencil
- 4.4. Removing the stencil
- 4.5. Allowing paint to dry
- 5. Finishing Touches
1. Introduction
Are you tired of staring at blank walls in your home? Do you want to add some personality and style to your space without breaking the bank? Look no further than DIY wall art using stencils. With just a few simple tools and a little creativity, you can transform any room in your home into a work of art. In this article, we’ll explore the world of stenciling and provide tips and tricks for creating your own unique wall art. So grab your stencils and let’s get started!
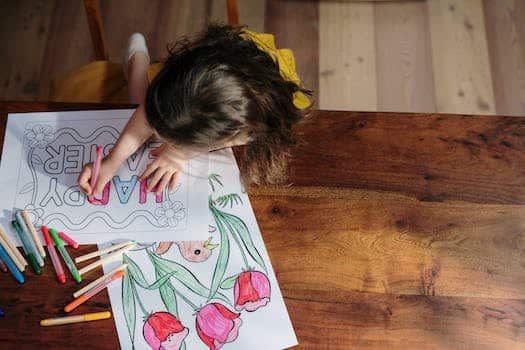
1.1. What is DIY wall art?
DIY wall art refers to the process of creating unique and personalized wall decor using your own creativity and artistic skills. It involves using various materials and techniques such as stenciling, painting, and collage to transform a plain and boring wall into a beautiful and eye-catching masterpiece. With DIY wall art, you have the freedom to express yourself and add your personal touch to your living space, making it more inviting and reflective of your personality and style.
1.2. Why use stencils?
Stencils are an incredibly versatile tool for DIY wall art. They allow you to create intricate designs and patterns with ease, even if you have little to no artistic skill. Using stencils can also save you time and money, as you won’t have to invest in expensive equipment or materials to achieve a professional-looking result. Whether you’re looking to add a personal touch to your home decor, or simply want to spruce up a dull room, stencils are a great way to transform your space.
1.3. Benefits of making your own wall art
Making your own wall art can be a fun and rewarding DIY project that can transform your living space. By using stencils, you can easily create custom designs that reflect your personal style and add a unique touch to your home decor. Not only is it a great way to express your creativity, but it also allows you to save money by avoiding expensive store-bought art pieces. In this article, we’ll explore the benefits of creating your own wall art using stencils and provide tips on how to get started.
2. Choosing Your Stencil
When it comes to DIY wall art using stencils, choosing the right stencil can make all the difference. Consider the overall style and theme of your space, as well as the size and shape of the wall you’ll be stenciling. If you’re going for a bold and graphic look, opt for a larger stencil with fewer details. For a more delicate and intricate design, choose a smaller stencil with finer lines. Additionally, think about the colors you’ll be using and whether you want to match or contrast with your existing decor. With so many stencil options available, take your time and find the perfect one for your project.
2.1. Design considerations
Choosing the right stencil is a crucial step in creating your DIY wall art. Consider the size of your wall and the space you want to fill. A larger stencil will work well for a big, blank wall, while a smaller stencil can add detail or accent to a smaller space. Think about the style you want to achieve – do you want a bold, graphic look or a more delicate, intricate design? You may also want to consider the colors you’ll be using and how they will work with your stencil choice. Take your time and experiment with different options before committing to a stencil for your project.
2.2. Stencil material options
When it comes to choosing the stencil material for your DIY wall art project, there are a few options to consider. The most common stencil materials include plastic, vinyl, and Mylar. Plastic stencils are the most affordable option and can be easily found at most craft stores. However, they are not as durable as vinyl or Mylar stencils and may need to be replaced after a few uses. Vinyl stencils are more durable than plastic stencils and can be used multiple times. Mylar stencils are the most durable option and can be reused many times. They are also more expensive than plastic or vinyl stencils. Consider the level of detail in your stencil design and the number of times you plan to use the stencil when choosing the material for your DIY wall art project.
2.3. Choosing the right size stencil
When it comes to stenciling, choosing the right size stencil is crucial. A stencil that is too small may not have the impact you desire, while a stencil that is too large may be overwhelming or difficult to work with. Consider the size of your wall or surface, as well as the scale of your stencil design, when selecting the appropriate size. Additionally, think about the placement of your stencil and how it will interact with other elements in the room. Taking the time to choose the right size stencil will ensure that your DIY wall art looks polished and professional.
2.4. Where to buy stencils
If you’re looking to create some DIY wall art using stencils, the first thing you’ll need to do is find the right stencil for your project. Luckily, there are plenty of options available for purchasing stencils. Here are some places to check out:
1. Craft stores – Your local craft store is a great place to start looking for stencils. They will likely have a variety of options to choose from, including different sizes and designs.
2. Online retailers – There are many online retailers that specialize in stencils. Some popular options include Etsy, Amazon, and Stencil Revolution.
3. Stencil makers – If you have a specific design in mind, you may want to consider getting a custom stencil made. There are many stencil makers online who can create a design based on your specifications.
No matter where you decide to buy your stencil, make sure to choose one that is the right size and design for your project. And don’t forget to have fun with it – stenciling is a great way to add a personal touch to any space!
2.5. Making your own stencil
Making your own stencil can be a fun and rewarding DIY project. Not only will you have complete creative control over the design, but you’ll also save money by not having to purchase a pre-made stencil. To make your own stencil, you’ll need some basic supplies such as stencil film, a craft knife, and a cutting mat. First, sketch out your design on a piece of paper. Then, transfer the design onto the stencil film and carefully cut out the shapes using the craft knife. Once your stencil is complete, you can use it to create beautiful wall art or add a personal touch to furniture and decor.
3. Preparing Your Wall
Before you start stenciling your walls, it’s important to properly prepare the surface. This will ensure that your stencil design goes on smoothly and looks its best. Start by cleaning the wall with soap and water to remove any dirt or dust. Let it dry completely before moving on to the next step. If there are any holes or cracks in the wall, fill them in with spackling paste and sand them down until they are smooth. For best results, it’s recommended to apply a coat of primer to the wall before stenciling. This will help the paint adhere better and prevent any bleed-through. Once the primer is dry, you’re ready to start stenciling!
3.1. Cleaning the wall
Before you start stenciling your wall, it’s important to make sure it’s clean and free of any debris. Use a damp cloth or sponge to wipe down the entire wall, paying extra attention to any areas that may have dirt or grime buildup. If there are any holes or cracks in the wall, fill them in with spackling compound and allow it to dry before sanding it smooth. A smooth, clean surface will ensure that your stencil design comes out looking crisp and professional.
3.2. Measuring and marking
Before starting your DIY wall art project, it is important to properly prepare your wall. This includes measuring and marking the area where you will be applying the stencil. Use a tape measure to determine the exact height and width of the space, and mark any necessary guidelines with a pencil or painter’s tape. Make sure the surface is clean and free of any debris or dust before beginning your project. Taking the time to properly prepare your wall will ensure a smooth and successful DIY wall art transformation.
3.3. Protecting surrounding areas
Before diving into the fun part of stenciling your wall, it’s important to protect the surrounding areas. Cover the floors and any furniture that cannot be moved with a drop cloth or plastic sheeting. Use painter’s tape to secure the edges of the protective material in place. This will prevent any accidental spills or smudges from ruining your space.
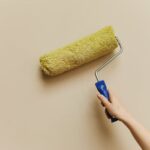
3.4. Applying base coat
Before applying your stencil, it is important to properly prepare your wall by applying a base coat. This will ensure that the stencil adheres well and that the final product looks smooth and flawless. Start by cleaning your wall to remove any dirt or debris. Then, apply a coat of primer to create an even surface for your base coat. Once the primer has dried, apply a base coat in the color of your choice. This will be the background color for your stencil design. Allow the base coat to dry completely before moving on to the next step.
3.5. Allowing base coat to dry
Once you have applied the base coat to your wall, it is important to allow it to dry completely before moving on to the next step. This will ensure that the stencil adheres properly and that there is no bleeding or smudging of the design. Depending on the type of paint you are using and the humidity level in the room, this drying process could take anywhere from a few hours to overnight. Be patient and resist the urge to rush the process, as it will ultimately lead to a better end result.
4. Using Your Stencil
Using a stencil is a great way to add a personal touch to your home decor. With a little creativity, you can transform any space with stencils. One popular use of stencils is for DIY wall art. Whether you want to create a bold statement or a subtle accent, stencils offer endless possibilities. You can use them to create patterns, shapes, or even words. Plus, stenciling is a fun and easy project that anyone can do. All you need is a stencil, paint, and a few basic supplies. So why not give it a try and add some personality to your walls?
4.1. Securing the stencil
Once you have chosen your stencil design and prepared your workspace, it is important to secure your stencil in place before beginning to paint. There are a few different methods you can use to do this, depending on the type of stencil you have and the surface you are working on.
For flat surfaces like walls or canvases, you can use painter’s tape to keep your stencil in place. Simply apply the tape to the back of the stencil, making sure to cover all the edges and corners, and then press it firmly onto the surface. This will hold the stencil steady as you paint, and make it easier to keep your lines clean and sharp.
If you are working on a curved or uneven surface, like a piece of furniture or a textured wall, you may need to use a different method to keep your stencil in place. One option is to use spray adhesive, which will help the stencil adhere to the surface more firmly. Just be sure to spray the adhesive onto the back of the stencil, rather than directly onto the surface, to avoid any mess or overspray.
No matter which method you choose, it’s important to take your time and make sure your stencil is secure before you begin painting. This will help ensure that your finished product looks clean and professional, and that your stencil stays in place throughout the entire process.
4.2. Choosing the right paint
Choosing the right paint is crucial when it comes to stenciling your walls. Look for paints that are specifically designed for stenciling, as they tend to have a thicker consistency which prevents bleeding and smudging. Additionally, consider the color of the paint and how it will work with your stencil design. Lighter colors may not show up as well on darker walls, and vice versa. It’s also important to choose a paint finish that fits your space – glossy finishes can look great in modern, minimalist spaces, while matte finishes may be better suited for a more traditional aesthetic.
4.3. Applying paint to the stencil
Once you have your stencil securely in place on your wall, it’s time to start painting! Make sure you have the right type of paint for your surface (e.g. acrylic paint for walls). Use a foam roller or stencil brush to apply the paint evenly over the stencil. Be careful not to apply too much paint or it may bleed under the stencil and ruin your design. You can also use painter’s tape to mask off any areas you don’t want to paint. Once you’ve finished painting, carefully remove the stencil from the wall while the paint is still wet. Let the paint dry completely before touching up any areas that need it. And that’s it – you now have a beautiful and unique piece of DIY wall art!
4.4. Removing the stencil
Once you’ve finished painting your stencil, it’s important to remove it carefully to avoid any smudging or smearing. Start by lifting one corner of the stencil and slowly peeling it back at a 45-degree angle. If you notice any areas that need touch-ups, use a small brush to fix them before the paint dries completely. Once the stencil is removed, allow the paint to dry completely before adding any additional layers or decorations.
4.5. Allowing paint to dry
Allowing paint to dry is crucial when using stencils for your DIY wall art project. It is recommended to wait at least 24 hours for the paint to fully dry before removing the stencil to avoid smudging or ruining the design. During this time, it’s important to keep the area free from dust and debris to ensure a clean finish. Once the paint is dry, you can carefully remove the stencil and admire your beautiful new wall art.
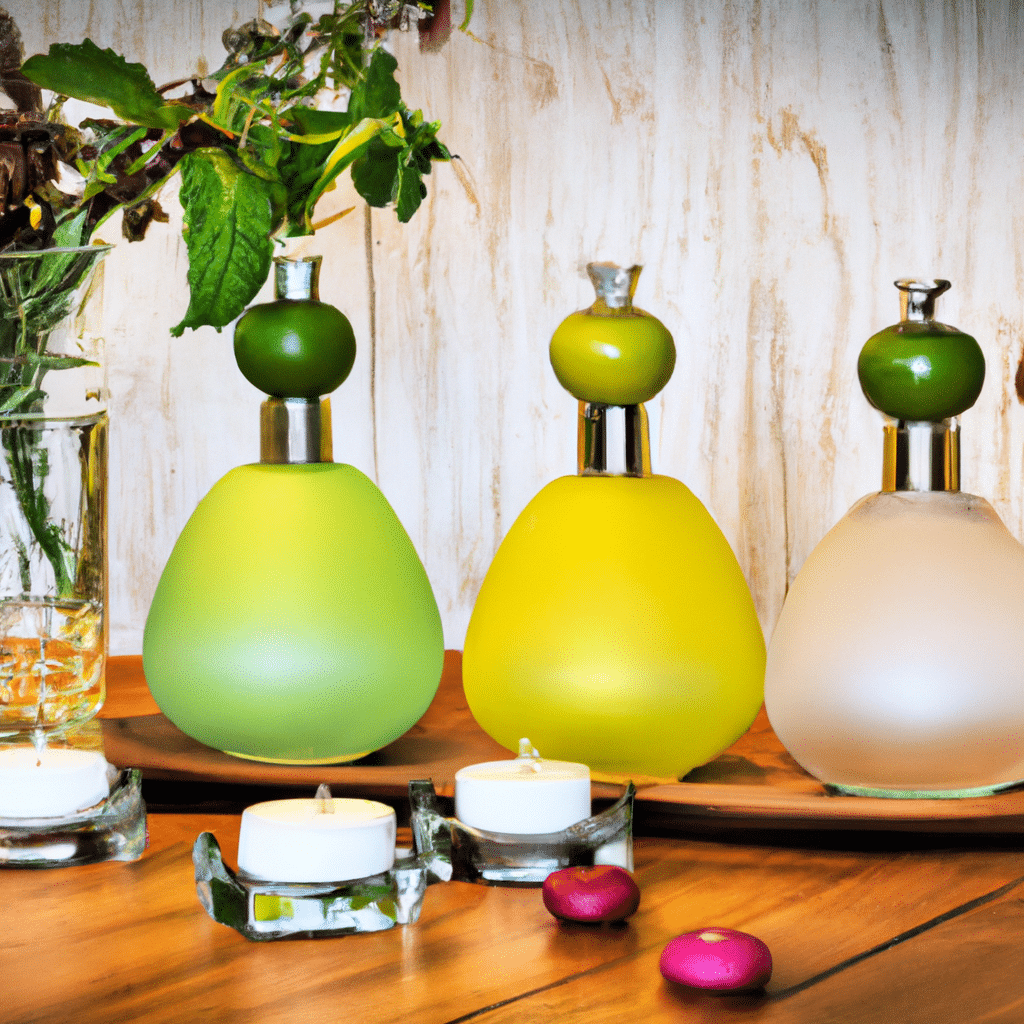
5. Finishing Touches
After completing your stencil design, it’s time to add the finishing touches to your DIY wall art. One option is to add a border or frame around the stencil design to give it a more polished look. This can be done with paint, washi tape, or even a wooden frame. Another option is to add embellishments, such as rhinestones or sequins, to make the design pop. Finally, consider adding a clear coat or sealant to protect the stencil design and ensure it lasts for years to come.
5.1. Adding accents and details
Once you’ve stenciled your design onto the canvas or wall, consider adding some extra accents and details to really make it pop. You can use a small paintbrush to add highlights or shading to your design, or use a metallic paint to create a metallic effect. You can also add small embellishments, such as rhinestones or beads, to add some texture and sparkle. Another option is to use a clear sealant to protect your design and give it a glossy finish. Whatever finishing touches you choose, they will help to make your DIY wall art truly unique and personalized.
5.2. Sealing the design
Once you have completed stenciling your design, it’s time to add some finishing touches to really make it pop. One option is to use a small brush or sponge to touch up any areas where the paint may have bled or smudged. This will give your design a clean and polished look. Another option is to add some embellishments such as glitter, sequins, or rhinestones to add some extra sparkle and texture. You can also use a clear coat of sealant to protect your design and make it last longer. Whatever finishing touches you choose, be sure to step back and admire your beautiful new DIY wall art!
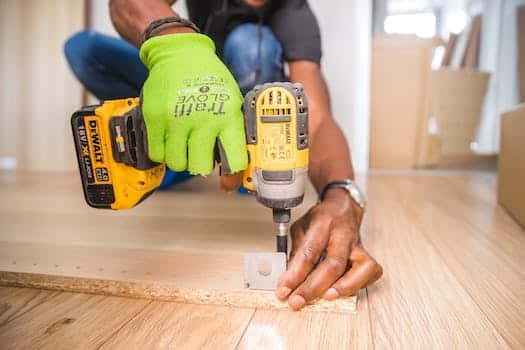
5.3. Hanging your new wall art
Hanging your new wall art is the final step in transforming your space with stencils. Before you begin, make sure you have all the necessary tools such as a hammer, nails, level, and measuring tape. Start by choosing the perfect spot for your new art piece. Use the measuring tape to ensure that it is centered and at the right height. Mark the spot with a pencil. Next, use the level to make sure your art is straight. Once you are satisfied with the placement, use the hammer and nails to securely hang your new wall art. Stand back and admire your work – you have successfully transformed your space with DIY stenciled wall art!
5.4. Enjoying your DIY creation
With your DIY wall art project complete, it’s time to add some finishing touches to really make it pop. One great option is to frame your stencil design for a polished look. You can find affordable frames at most craft stores, or even repurpose old frames by giving them a fresh coat of paint. Another option is to add some texture to your piece by using a textured paint or adding embellishments like beads or sequins. Finally, consider the placement of your new wall art. Hanging it in a prominent spot like above a sofa or bed will ensure it gets the attention it deserves.
Conclusion
In conclusion, stenciling is an easy and affordable way to transform any space. With a little creativity and some DIY spirit, you can create stunning wall art that is unique to your personal style. So go ahead and give stenciling a try- you may be surprised at the beautiful results you can achieve!

These 10 innovative and imaginative DIY home decor ideas from [object Object] provide a refreshing approach to enhancing ones living…